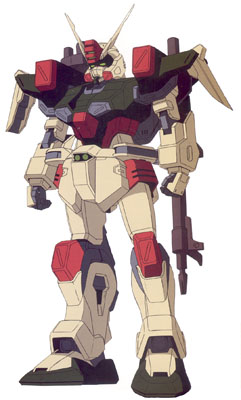
MG 1/100 Buster Gundam
With the outbreak of the Bloody Valentine War, the Earth Alliance's Atlantic Federation begins a secret project to develop mobile suits to counter ZAFT's mass-produced ZGMF-1017 GINN as well as operate free of interference from the N-Jammers. The GAT-X103 Buster Gundam is one of five initial prototype mobile suits that the Alliance develops secretly with the Orb Union. As an artillery mobile suit, the Buster Gundam's main armament consists of a 350mm gun launcher and a 94mm high-energy rifle. These two weapons can be used independently or both interchangeably combined to form two powerful long-range weapons. The Buster Gundam is also equipped with two 6-barrel missile pod launchers on its shoulders. Like the other prototype Gundams, the Buster Gundam is equipped with the new Phase Shift (PS) armor technology. When in Phase Shift mode, the Buster Gundam is nearly impervious to attacks from shell-firing artillery or melee weapons. However, use of Phase Shift for extended periods of time is a massive drain on the energy battery. Later on, the Alliance introduces the GAT/A-01E2 Buster Dagger, a simplified mass production version of the Buster Gundam.
On January 25, C.E. 71, the Buster Gundam is stolen by ZAFT pilot Dearka Elsman during ZAFT's assault on the neutral Orb Union colony Heliopolis. Following the escape of the Earth Alliance battleship Archangel, Dearka and his Buster Gundam continue to harass the Archangel's crew during the later period of the war. In one battle near the Orb Union, the Buster Gundam is seriously damaged, forcing Dearka to surrender. He is captured by theArchangel and is held captive until the Archangel defects from the Earth Alliance. When the Earth Alliance attacks Orb, Dearka reclaims the Buster Gundam and fights alongside the Archangel to defend Miriallia Haw. In the last battle of the war on September 26, C.E. 71, the Buster Gundam is heavily damaged while fighting Rau Le Creuset's ZGMF-X13A Providence Gundam. After the war, another unit piloted by Shams Couza is upgraded to the GAT-X103AP Verde Buster Gundam. (text taken from mahq.net)
On January 25, C.E. 71, the Buster Gundam is stolen by ZAFT pilot Dearka Elsman during ZAFT's assault on the neutral Orb Union colony Heliopolis. Following the escape of the Earth Alliance battleship Archangel, Dearka and his Buster Gundam continue to harass the Archangel's crew during the later period of the war. In one battle near the Orb Union, the Buster Gundam is seriously damaged, forcing Dearka to surrender. He is captured by theArchangel and is held captive until the Archangel defects from the Earth Alliance. When the Earth Alliance attacks Orb, Dearka reclaims the Buster Gundam and fights alongside the Archangel to defend Miriallia Haw. In the last battle of the war on September 26, C.E. 71, the Buster Gundam is heavily damaged while fighting Rau Le Creuset's ZGMF-X13A Providence Gundam. After the war, another unit piloted by Shams Couza is upgraded to the GAT-X103AP Verde Buster Gundam. (text taken from mahq.net)
WIP Start = 9/30/2012
This will be an OOB (or Out of Box) build. Meaning it is a straight build with no decals or stickers (except for the eyes). Well, the build is OOB for now but it won't be for long.
Anyways, the MG 1/100 Buster Gundam is fairly new on the gunpla market and I'm lucky to get my hands on it as early as today.
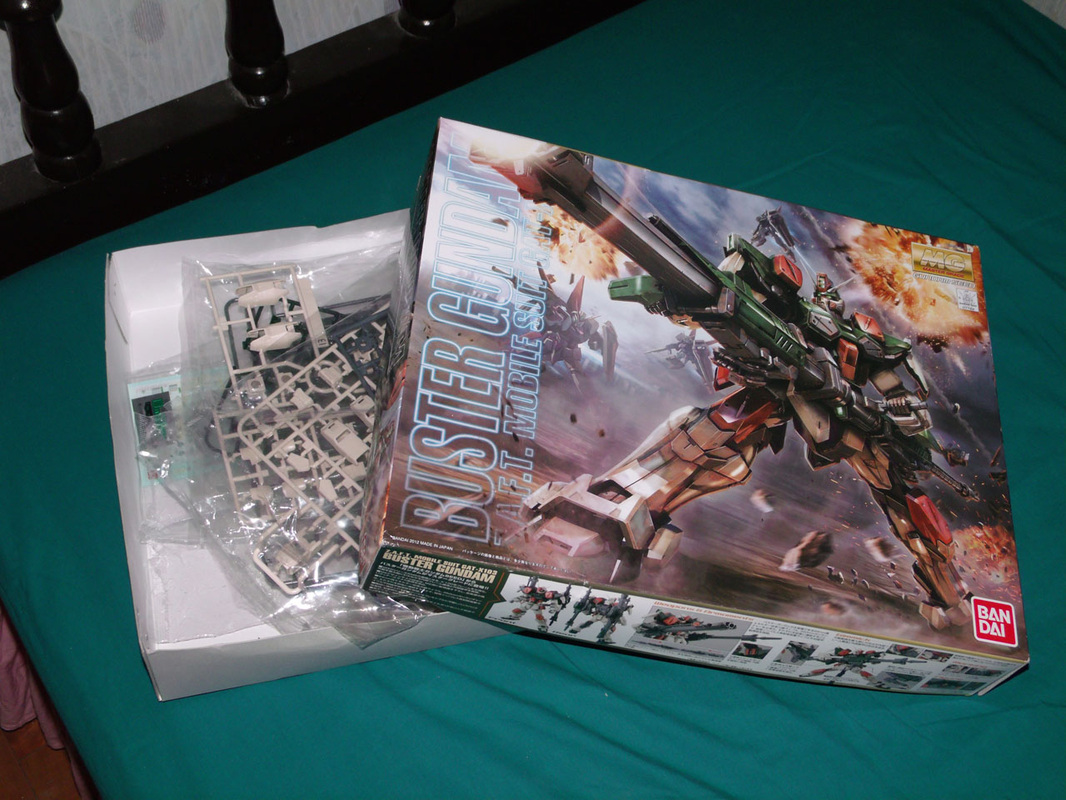
Box Art and Runners
My first impression, it has a lot of runners but that's to be expected as it is of the Master Grade class. Box is about the same size as the Master Grade Exia Ignition Mode that I have. I have already seen the reviews on the kit and I must say I am excited in finishing it (and maybe playing around it a bit).
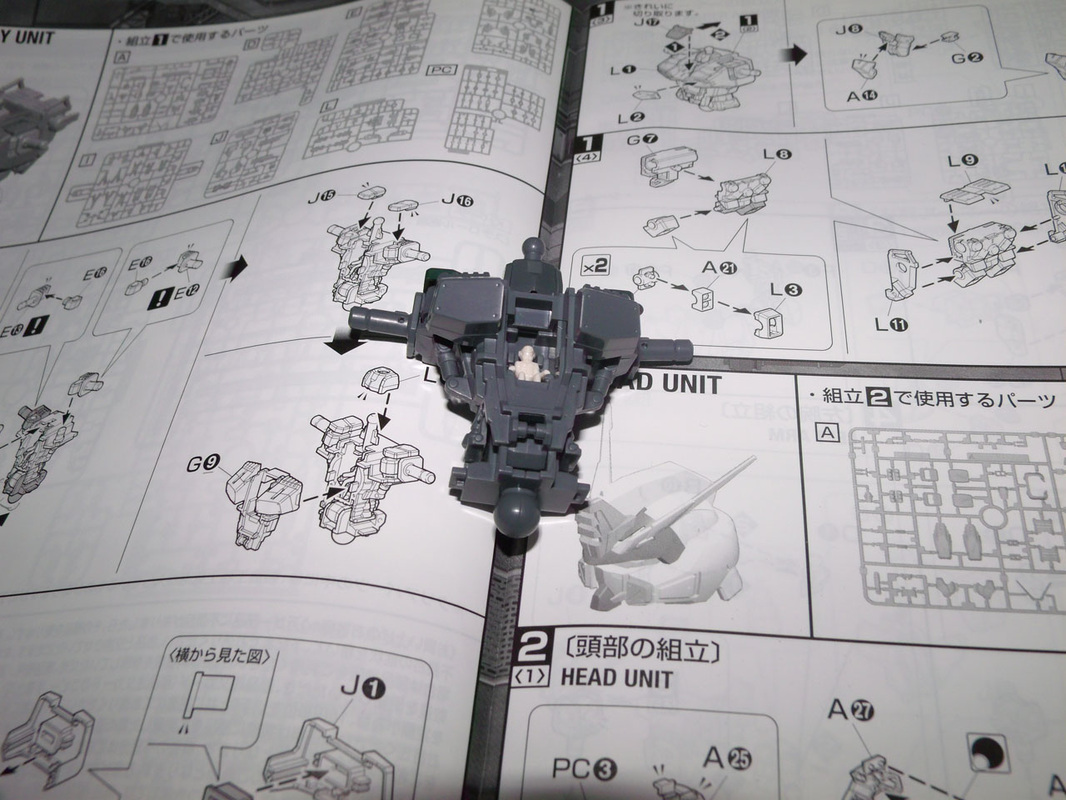
Step 1:1
I have never experienced super-ultra-tight (pardon the superlatives) pegs in my entire gunpla life! The time it took me to make this is roughly 40 minutes due to the super-ultra.. you get the idea. Due to the tightness of the pegs and connectors, I have to sand down a bit of them just for them to slide inside their appropriate holes.
Connecting the waist joint is a brand new experience for me. I'll show it on my next update.
Anyways, it's already night here and I have to wake up early for work tomorrow. Until next update!
Connecting the waist joint is a brand new experience for me. I'll show it on my next update.
Anyways, it's already night here and I have to wake up early for work tomorrow. Until next update!
Update = 10/1/2012
Finished the torso today. I thought that all the joints for the kit were as tight as it was on step 1:1. Steps 1:2 through 1:4 were a breeze to make. However, I can only do a few steps per day since I go home from work at night... It's been pretty hectic recently and I have to meet some deadlines...
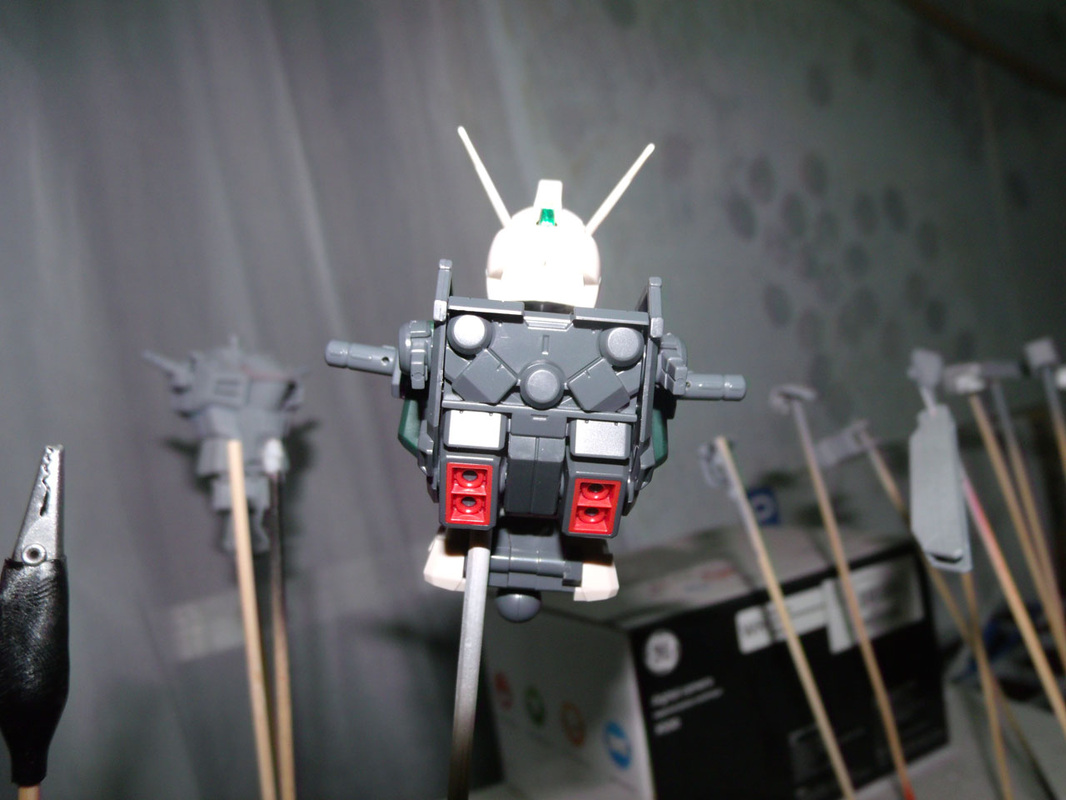
Anyways, here are some pics of the recently finished torso part of the MG Buster Gundam. (Click on the thumbnails for a larger view)
Finished the torso today. I thought that all the joints for the kit were as tight as it was on step 1:1. Steps 1:2 through 1:4 were a breeze to make. However, I can only do a few steps per day since I go home from work at night... It's been pretty hectic recently and I have to meet some deadlines...
Anyways, here are some pics of the recently finished torso part of the MG Buster Gundam. (Click on the thumbnails for a larger view)
Front
|
Back
|
Side
|
Side
|
As you can see on the side shots, there are still those fugly looking nub marks that I failed to fix/sand down properly. Will get to that immediately when I get home later today. I'm going to start working on the head part as well.
Until next update!
Until next update!
Update = 10/2/2012
I've finished sanding down those ugly nub marks on the torso... or so I've thought. I curse my eyes for not seeing that it still lacks a few sanding on the right side of the torso. Now I have to do it again -___-
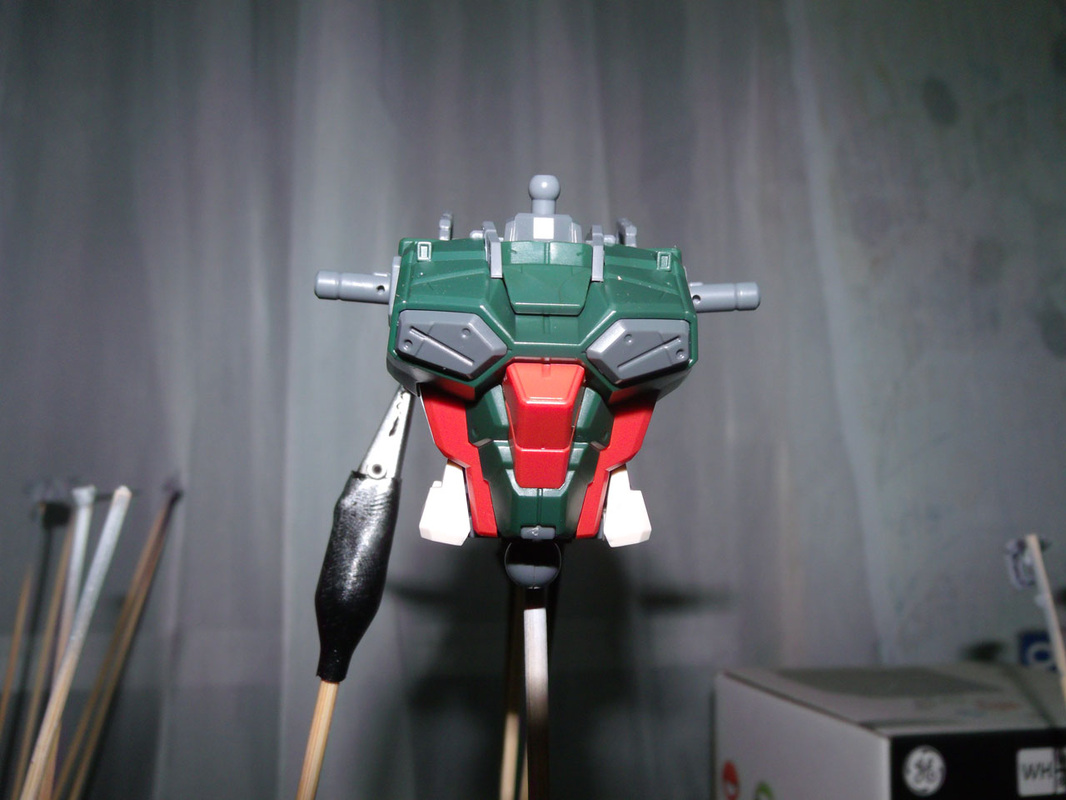
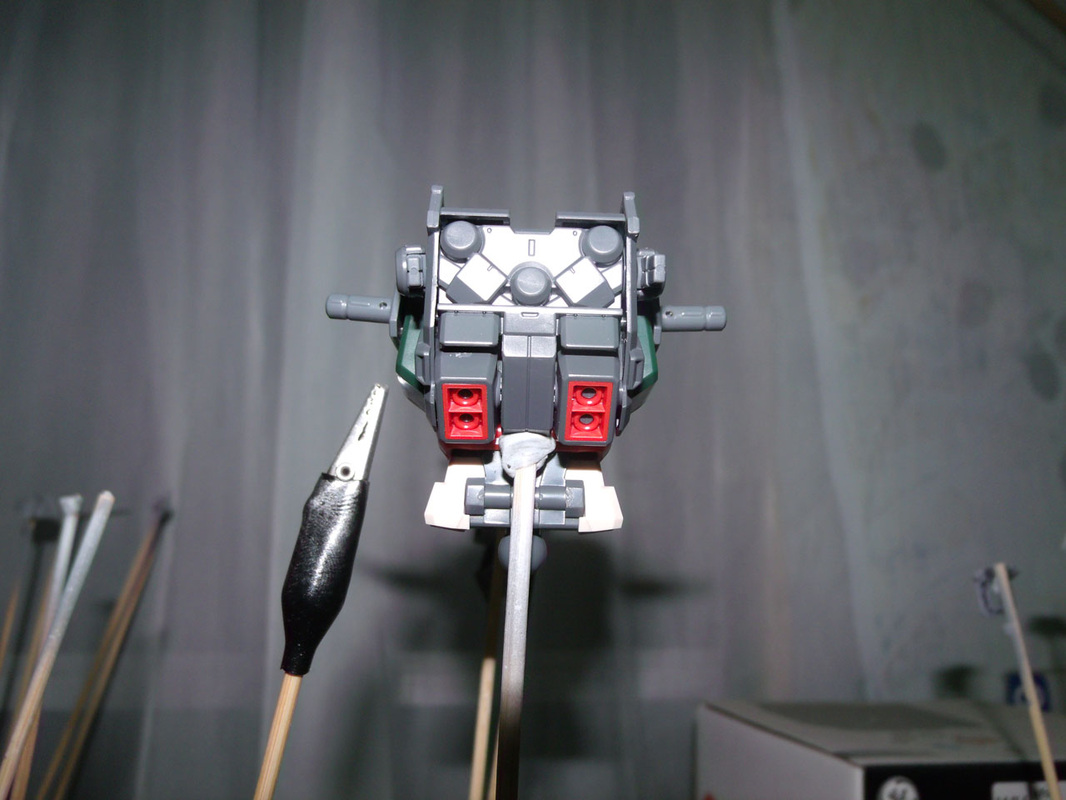
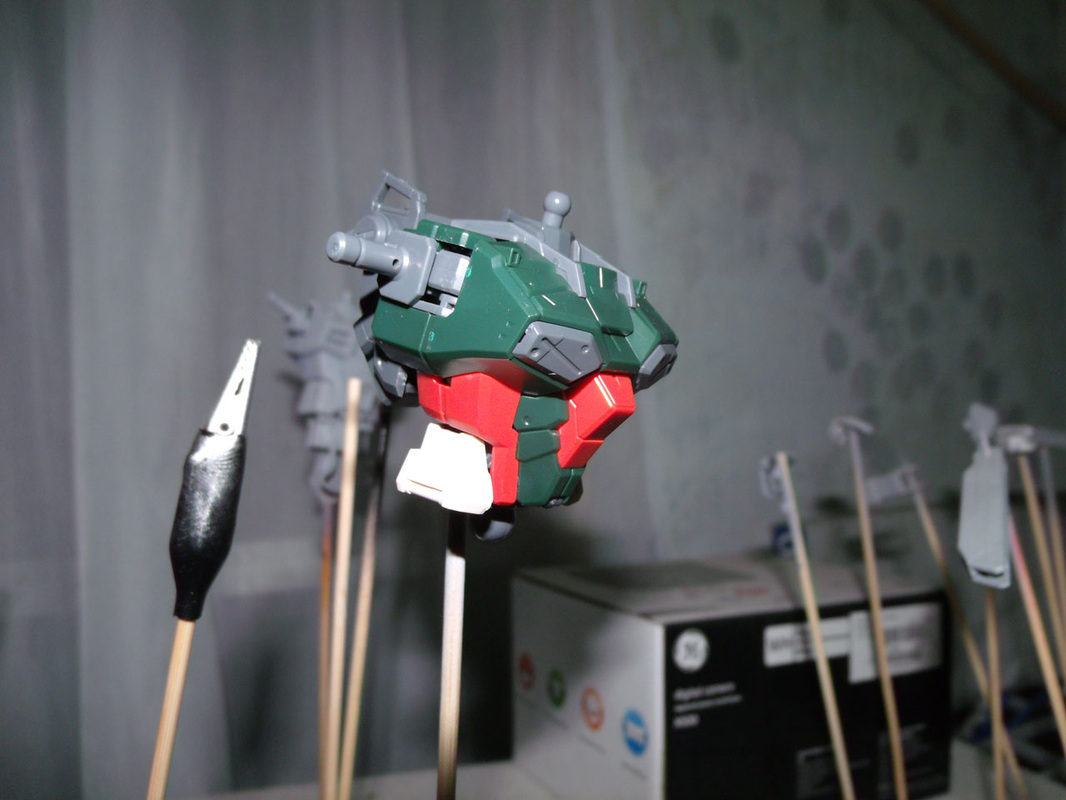
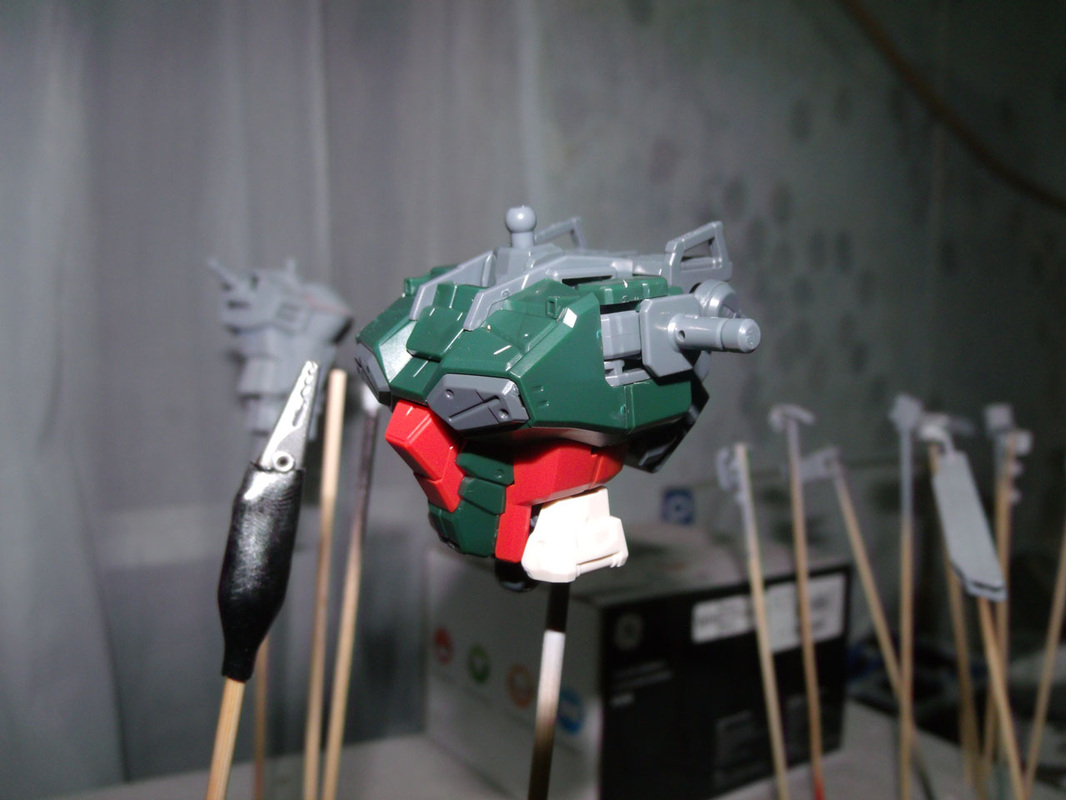
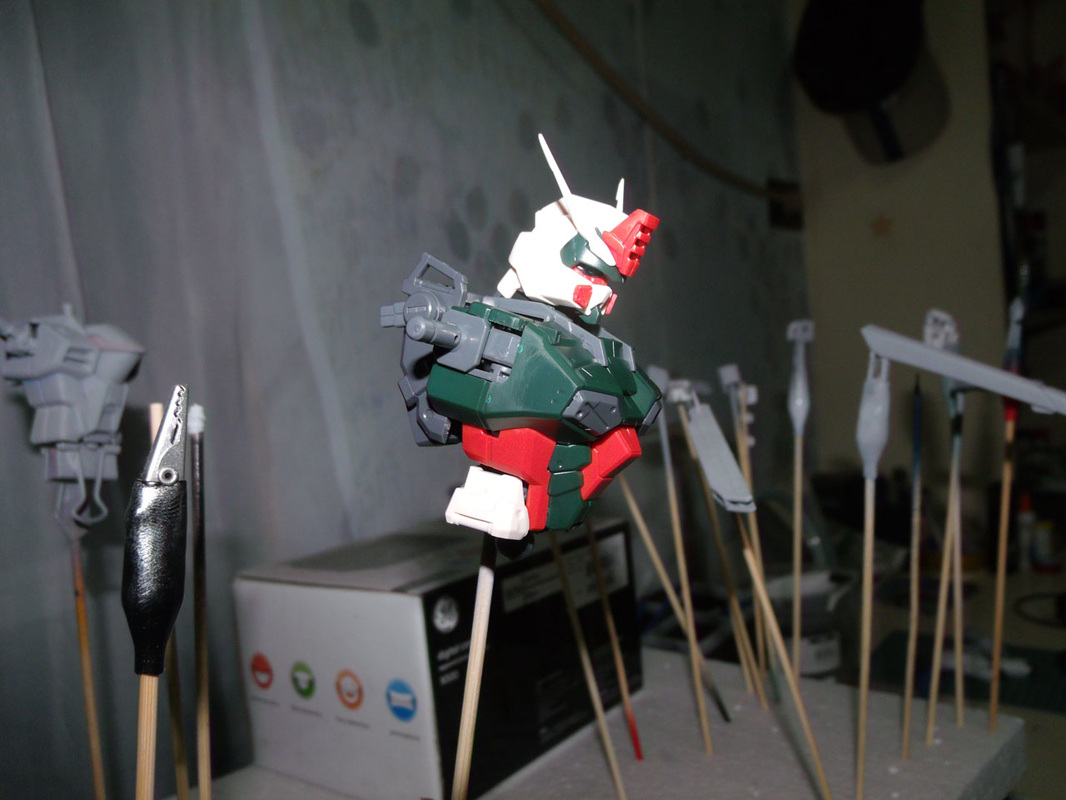
I've also finished the head part. A little bit off-topic first, I've never noticed that the Buster Gundam had a "tongue," and a green one at that! It pretty much shocked me (yes, little things can amuse me greatly).
I've finished sanding down those ugly nub marks on the torso... or so I've thought. I curse my eyes for not seeing that it still lacks a few sanding on the right side of the torso. Now I have to do it again -___-
I've also finished the head part. A little bit off-topic first, I've never noticed that the Buster Gundam had a "tongue," and a green one at that! It pretty much shocked me (yes, little things can amuse me greatly).
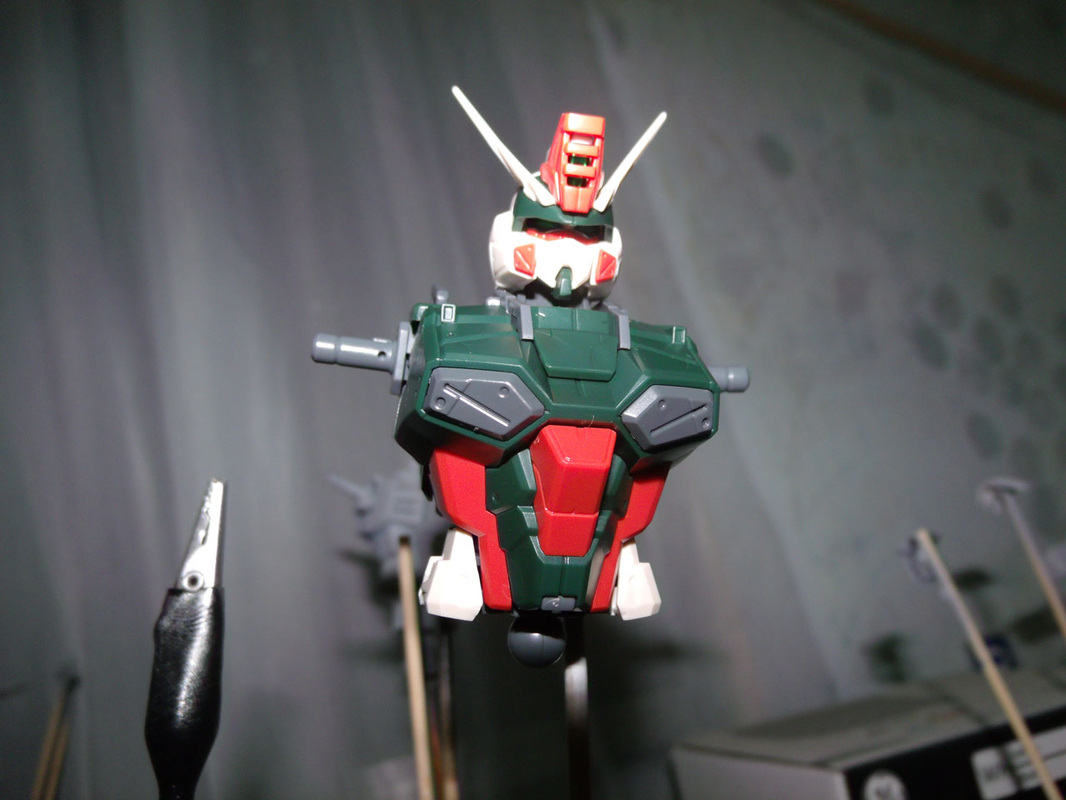
Front
|
Back
|
Side
|

Side
|
Again, click on the images for a larger view. Next update will contain the arms and I'm looking forward to that!
Until next update!
Until next update!
UPDATE = 10/14/2012
Late update, primarily because my grandmother was in the hospital for a full week. Anyways, she's better now so there's now time to finish the Buster Gundam.
So here's my latest update.
Late update, primarily because my grandmother was in the hospital for a full week. Anyways, she's better now so there's now time to finish the Buster Gundam.
So here's my latest update.
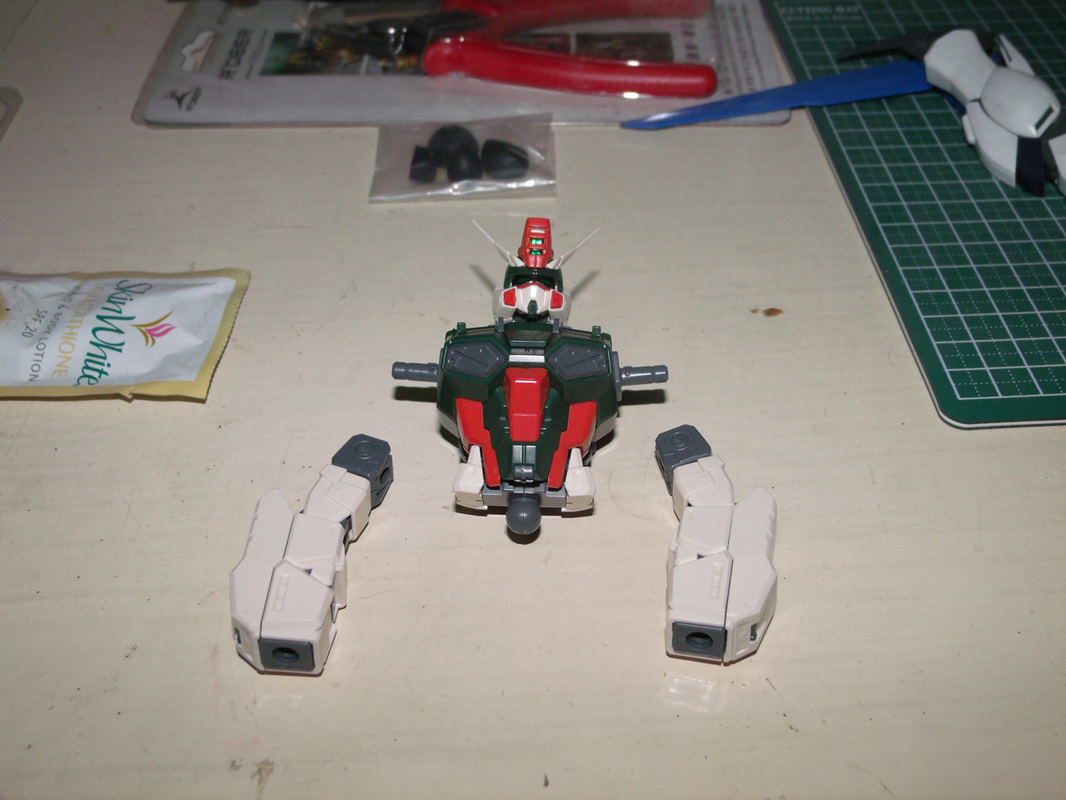
Arms done
|
Shoulders+hands
|
I've had no trouble putting the arms, shoulders, and hands together. However let me just say a few things:
- At first glance, it's quite a bulky looking Gundam even though the design is sleek. Why did I not notice this when I was watching SEED way back when.
- I have not tested the range of motion on the arms yet. Check out dalong.net for more information on this.
- The hands are a brand new experience for me as the fingers (minus the thumb) are for part swapping. Earlier Master Grade models use semi free-range motioned fingers.
- The missiles (which are not shown in the pictures above) can be found underneath the shoulder hatch. It's a plus point for me that the colors are different than the frame of the kit.
After the arms were done, I move on to my most hatest (yup, that's a double superlative right there) part of the kit: the legs. In every Gundam kit that I've made so far, may it be High Grade or Master Grade, I really, really hate the leg parts.
Why?
Well, for a lazy-ass person as myself, it's got a lot of parts and you have to do the same thing for both legs. And speaking of being lazy, I do apologize as I did not take a picture of the legs as I was putting it together.
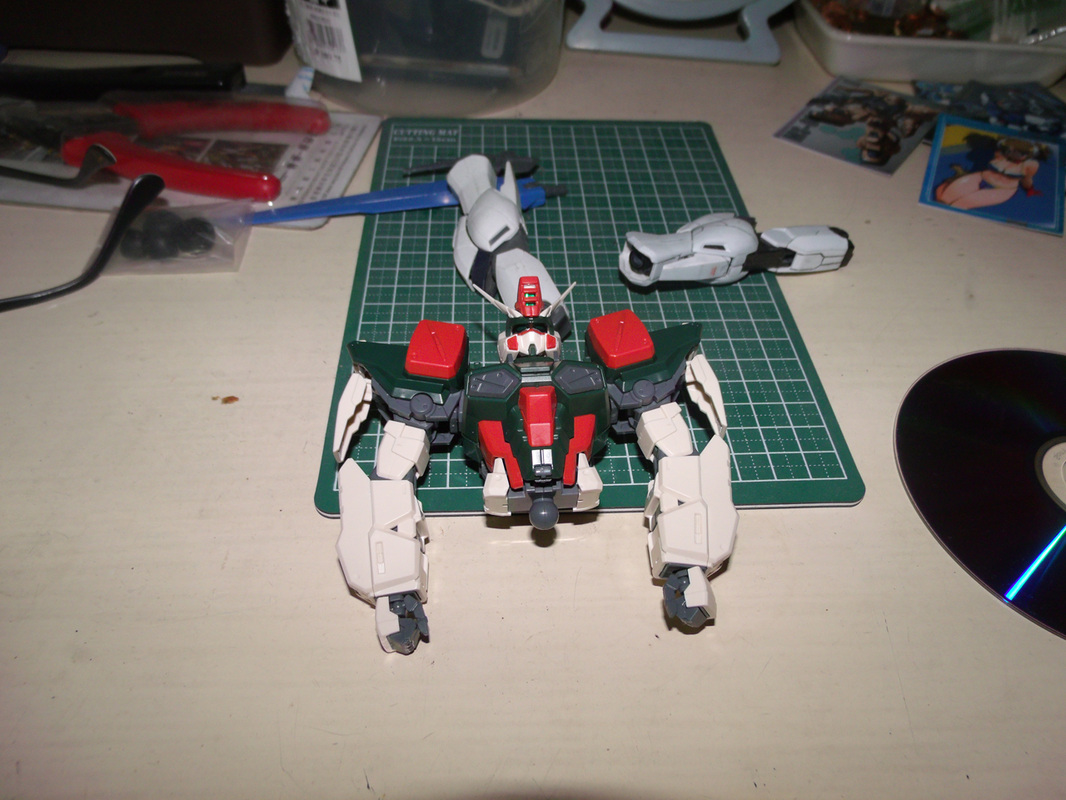
So in compensation, here it is...
Why?
Well, for a lazy-ass person as myself, it's got a lot of parts and you have to do the same thing for both legs. And speaking of being lazy, I do apologize as I did not take a picture of the legs as I was putting it together.
So in compensation, here it is...
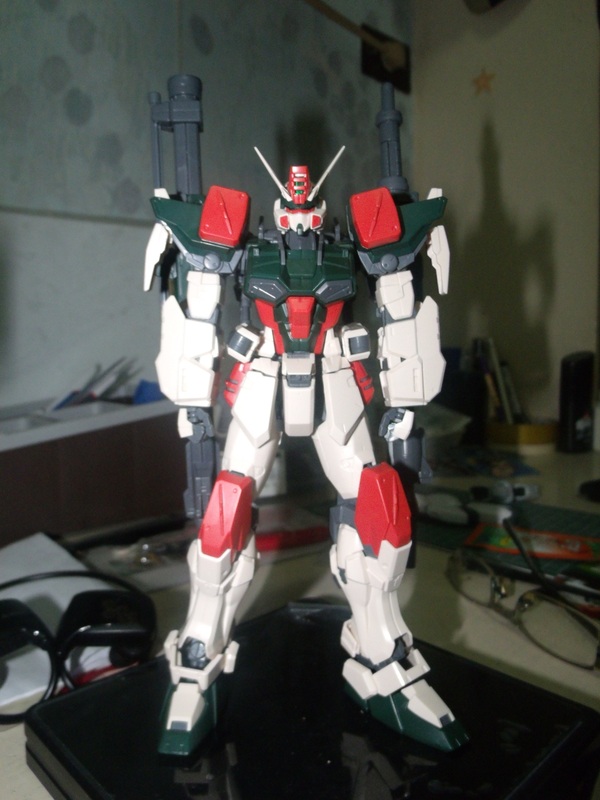
I'd say this is about 90% complete as the only things left lacking are the weapons. Legs are good and sturdy as are the arms and shoulders. Motion and flexibility are good but I have not yet tried to make the legs do a split (like I've seen in some reviews).
Right now I'm saying this - this is definitely one of those Gunpla buys that is so worth every penny. It's sturdy, good balance, and has quite a gaggle of poses it can make even WITHOUT an action base.
The next update will include the finished kit, and I'll probably post a review soon. Until the next update!
UPDATE = 10/19/2012
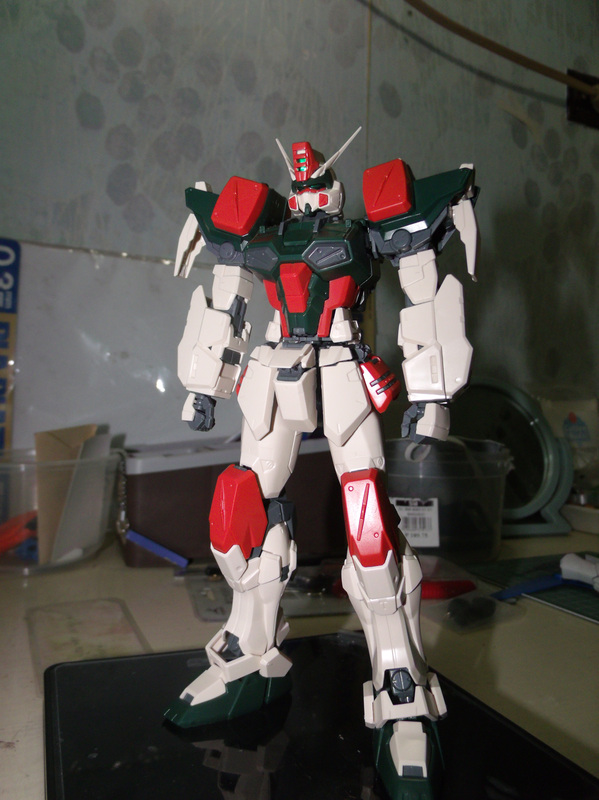
And finally.. IT IS DONE! Kinda...
The kit has no clear stickers nor decals. Again, this is straight out of the box build.
Enjoy the photos. More photos coming in later with some action poses. Thanks for everyone who followed the WIP. Until next WIP!
And finally.. IT IS DONE! Kinda...
The kit has no clear stickers nor decals. Again, this is straight out of the box build.
Enjoy the photos. More photos coming in later with some action poses. Thanks for everyone who followed the WIP. Until next WIP!
|

|

|
